Classic Rye Bread
This Classic Rye Bread is a robust loaf that you can enjoy with sandwiches or alongside soups. Its nutty flavor comes from the rye flour, giving the bread a unique taste and texture. The hearty loaf is perfect for toasting and pairs beautifully with various toppings.
- Total
- 2 hr 10 min
- Serves
- 4
- Level
- Everyday
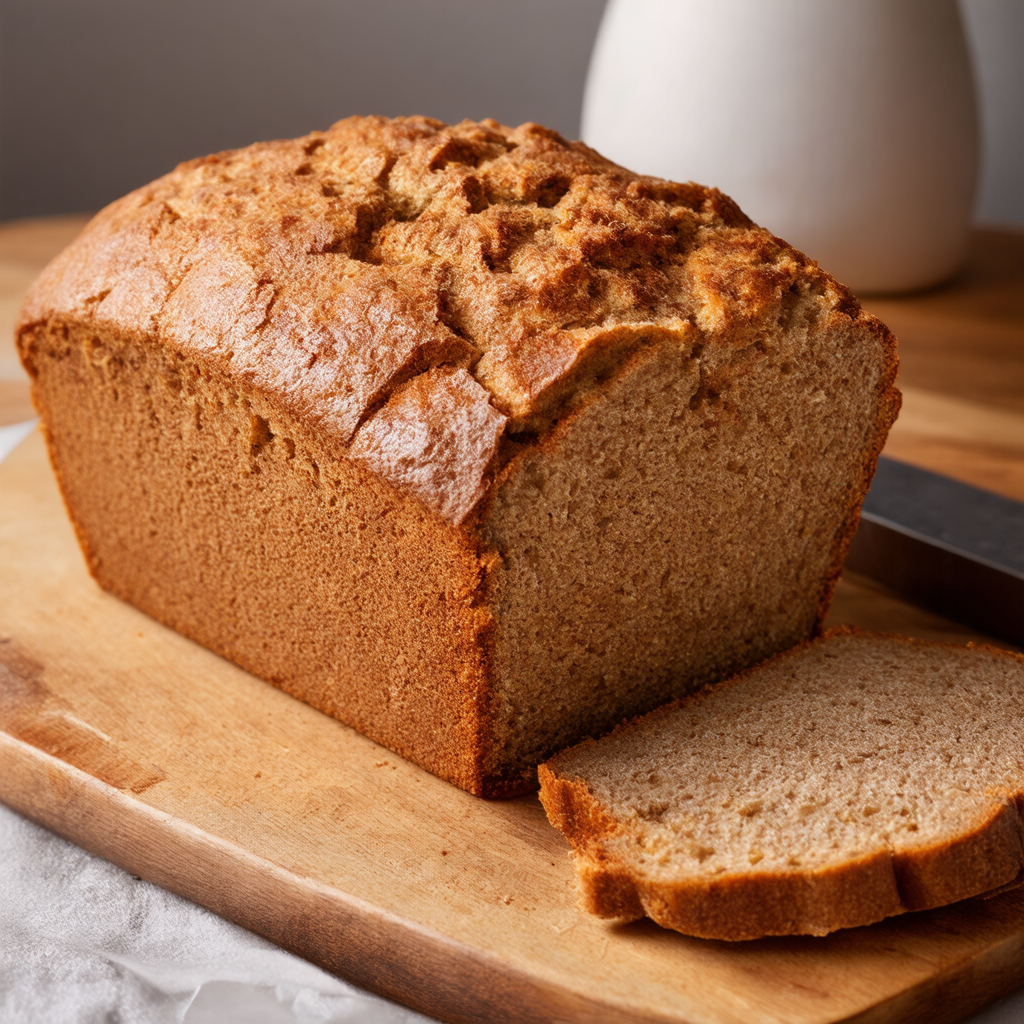
Created with Pantry Bliss
Ingredients
4 servings
For the bread dough
- 300 g rye flour
- 100 g plain flour
- 350 ml water, lukewarm
- 2 tsp dry yeast, (or 7 grams)
For flavour
- 1 tbsp honey
- 1 tsp salt
- 1 tbsp caraway seeds
- Prep
- 30 min
- Marinate
- 1 hr
- Cook
- 30 min
- Rest
- 10 min
Nutrition per serving
- Calories
- 371 kcal
- Protein
- 11.1 g
- Carbohydrate
- 81.6 g
- Fat
- 1.8 g
- Saturated fat
- 0.3 g
- Fibre
- 12.8 g
- Sugars
- 5.2 g
- Sodium
- 587 mg
Estimated from the ingredients, so treat it as a guide.
About this recipe
Rye bread has deep roots in many cultures, especially in Eastern Europe, where its nutty flavor and dense texture are cherished. The combination of rye flour with a hint of sweetness from honey is a classic representation of this traditional bread. The method of allowing the dough to rise twice ensures a hearty loaf, making it perfect for sandwiches or enjoyed with a warm bowl of soup. This recipe reflects the timeless essence of classic rye bread as inspired by generations of bakers, bringing warmth and comfort to every table.
Method
-
Step 1: Combine Dry Ingredients
In a large mixing bowl, combine 300 grams of rye flour, 100 grams of plain flour, 1 teaspoon of salt, and 1 tablespoon of caraway seeds. Mix well using a wooden spoon or spatula.
-
Step 2: Activate Yeast
In a separate small bowl, mix 350 milliliters of lukewarm water with 2 teaspoons of dry yeast and 1 tablespoon of honey. Allow it to sit for about 5-10 minutes, until it becomes frothy.
Make sure the water is not too hot, or it can kill the yeast. -
Step 3: Mix Dough
Once frothy, pour the yeast mixture into the bowl of dry ingredients. Stir the mixture with a wooden spoon until a sticky dough forms.
-
Step 4: Knead the Dough
Turn the dough out onto a lightly floured surface. Knead it for about 5-7 minutes until it is smooth and elastic. If the dough is too sticky, sprinkle a little more flour as needed.
Don’t over-knead; just enough to develop the texture is fine. -
Step 5: First Rise
Shape the kneaded dough into a ball and place it back into the mixing bowl. Cover with a clean cloth and let it rise in a warm place for 60 minutes, or until it doubles in size.
Ensure the bowl is covered to prevent the dough from drying out. -
Step 6: Shape Bread
After rising, punch down the dough gently to release the air. Shape it into a loaf and place it in a greased loaf pan (approximately 23x12 cm).
Handle the dough gently to retain some air pockets. -
Step 7: Second Rise
Cover the loaf pan with a clean cloth and let it rise for another 30 minutes until it springs back when pressed gently.
The bread should be quite puffy before baking. -
Step 8: Preheat Oven
While the bread is rising, preheat your oven to 220°C (428°F).
-
Step 9: Bake the Bread
Once the oven is hot, uncover the loaf and place it in the oven. Bake for 30 minutes, or until the bread sounds hollow when tapped on the bottom.
Internal temperature should reach 90°C (194°F) when fully baked. -
Step 10: Cool the Bread
Remove the bread from the oven and the loaf pan. Let it cool on a wire rack for at least 10 minutes before slicing.
Allow the bread to cool completely before slicing for the best texture.
Tips
- For a slightly sweeter bread, add an extra teaspoon of honey to the dough.
- If you enjoy a stronger flavor, consider adding more caraway seeds or even chopped nuts or seeds for texture and taste.
- This bread can also be made ahead and stored in an airtight container for freshness.
Equipment
- Large mixing bowl
- Wooden spoon or spatula
- Measuring cups
- Measuring spoons
- Loaf pan (approximately 23x12 cm)
- Oven
Serve it with
Sides
-
 Creamy Tomato Soup
Recipe: Classic Tomato Soup with Herb Oil and Artisan Grilled Cheese Croutons
The nutty flavor of rye bread complements the tangy and rich taste of tomato soup perfectly.
Creamy Tomato Soup
Recipe: Classic Tomato Soup with Herb Oil and Artisan Grilled Cheese Croutons
The nutty flavor of rye bread complements the tangy and rich taste of tomato soup perfectly.
- Pickles No recipe yet · create it in the app The crunch and acidity of pickles balance the dense texture of the rye.
Goes well with
Drinks
-
Herbal Tea
A warm herbal tea highlights the earthy notes of the rye bread and is comforting.
-
Light Beer
The crispness of light beer contrasts well with the density of rye bread.
Created by a home cook with Pantry Bliss’s AI recipe creator and shared with the community. Always check recipes for allergens and cook food to safe temperatures.