Simple Sweet Pie Dough
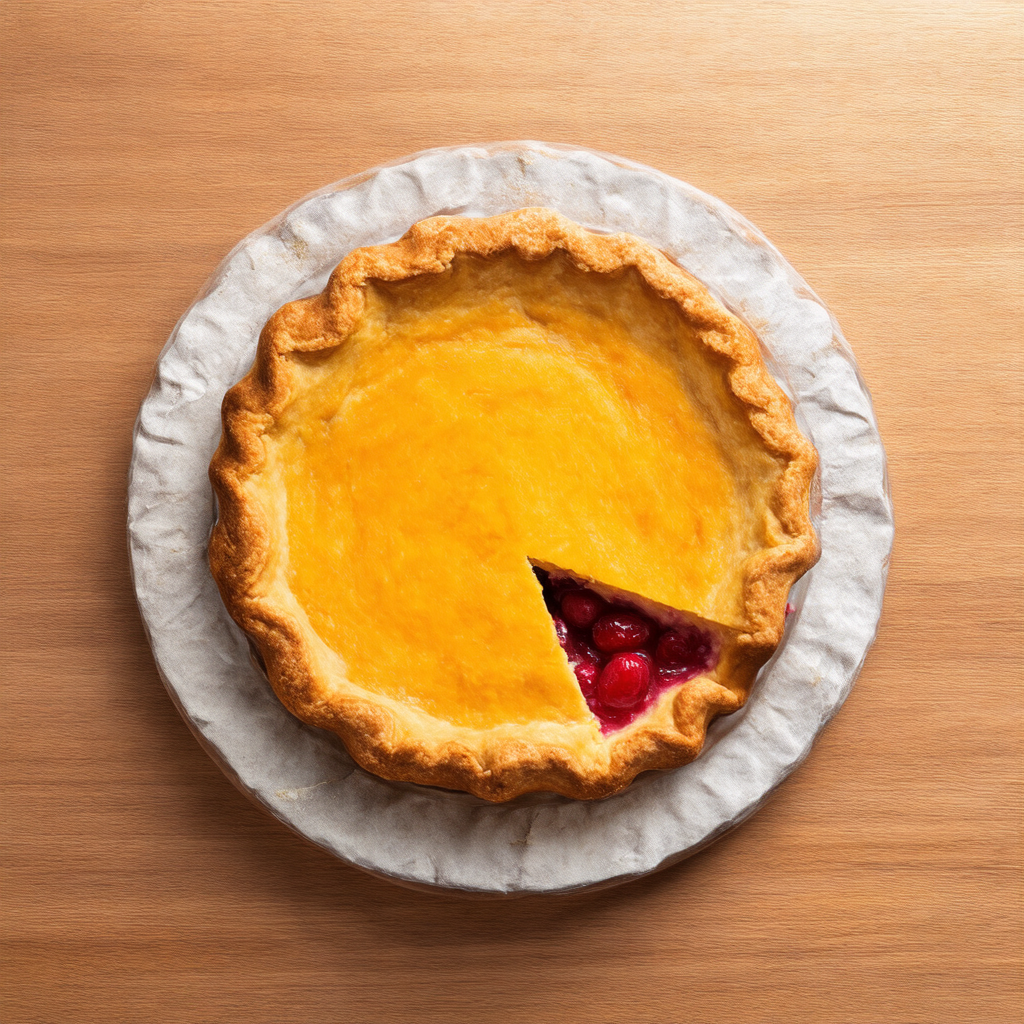
A basic sweet pie dough, perfect for fruit pies or tarts, with a tender and flaky texture. Ideal for beginners! This dough uses simple ingredients you likely already have at home, making it an accessible option for anyone looking to make delicious pies from scratch.
- Total
- 45 min
- Serves
- 4
- Level
- Everyday
Created with Pantry Bliss
Ingredients
4 servings
- 250 grams plain flour, sifted
- 125 grams unsalted butter, cold and diced
- 50 grams icing sugar, sifted
- 1 large egg yolk, lightly beaten
- 2 tablespoons cold water, adjust as necessary for moisture
- Prep
- 15 min
- Marinate
- 30 min
About this recipe
This recipe draws inspiration from classic French pastry techniques, where sweet doughs are used for tarts and pies. The delicate balance of flour, fat, and sugar creates a beautiful flaky texture that's ideal for encasing seasonal fruits. Its simplicity aims to empower home bakers to create their own delicious desserts without the complexity often associated with pastry making. This basic dough can serve as a canvas for countless sweet fillings, pairing well with fresh fruits and custards.
Method
-
Step 1: Prepare the Ingredients
Collect all ingredients needed for the pie dough and make sure the butter is cold and diced. This helps create a flakier crust.
-
Step 2: Mix Dry Ingredients
In a mixing bowl, combine the sifted plain flour and icing sugar. Use a wooden spoon or spatula to gently mix these dry ingredients together until well combined.
-
Step 3: Add Butter
Add the cold diced butter into the bowl with the flour mixture. Using your fingers, rub the butter into the dry ingredients until the mixture resembles coarse crumbs (like breadcrumbs).
Make sure the butter remains cold to keep the texture flaky. -
Step 4: Incorporate Egg Yolk
Make a small well in the centre of the butter-flour crumb mixture. Pour in the lightly beaten egg yolk. Mix gently, folding the mixture together until it begins to come together.
-
Step 5: Add Cold Water
Gradually add the cold water, one tablespoon at a time, mixing gently until the dough starts to form. You may not need all the water. Stop adding when the dough holds together but is not sticky.
Avoid over-mixing which can make the dough tough. -
Step 6: Form the Dough
Turn the dough out onto a lightly floured surface. Shape it into a ball and then flatten it into a disc. Wrap it tightly in plastic wrap or baking paper.
-
Step 7: Chill the Dough
Refrigerate the wrapped dough for at least 30 minutes. This helps in firming up the butter and makes it easier to roll out.
-
Step 8: Prepare to Roll Out
After the chilling period, take the dough out of the fridge. Leave it to sit for a few minutes to soften slightly before rolling it out.
Make sure it’s not too soft; it should still be firm yet pliable. -
Step 9: Roll Out the Dough
On a lightly floured surface, use a rolling pin to roll out the dough to approximately 3-5mm thick. Ensure it is large enough to fit your pie dish or tart pan.
Keep the surface floured to prevent sticking and rotate the dough as you roll. -
Step 10: Prepare for Baking
Transfer the rolled dough to the pie dish or tart pan, pressing it gently into the sides. Trim any excess from the edges. You are now ready to fill and bake your pie according to your chosen recipe!
Don’t stretch the dough; it should fit naturally into the dish.
Tips
- Use different types of sweeteners like brown sugar for a slightly different flavour.
- If you want a richer flavour, try adding a pinch of vanilla extract to the dough when mixing in the egg yolk.
- You can make the dough ahead of time. Store it wrapped in the fridge for up to 3 days or freeze for up to 3 months.
Equipment
- Mixing bowl
- Wooden spoon or spatula
- Rolling pin
- Plastic wrap or baking paper
- Pie dish or tart pan
- Fork
Serve it with
Drinks
-
Homemade Lemonade
The refreshing tang of lemonade complements the sweetness of fruit pies beautifully.
-
Chardonnay
A light Chardonnay pairs well with the sweetness of fruit tarts, enhancing the overall experience.
Created by a home cook with Pantry Bliss’s AI recipe creator and shared with the community. Always check recipes for allergens and cook food to safe temperatures.