Simple White Bread
This classic white bread recipe is easy to follow and yields soft, fluffy bread that is perfect for sandwiches or toasting. With just a few simple ingredients, you can create a homemade loaf that will fill your kitchen with a warm, comforting aroma.
- Total
- 1 hr 50 min
- Serves
- 4
- Level
- Everyday
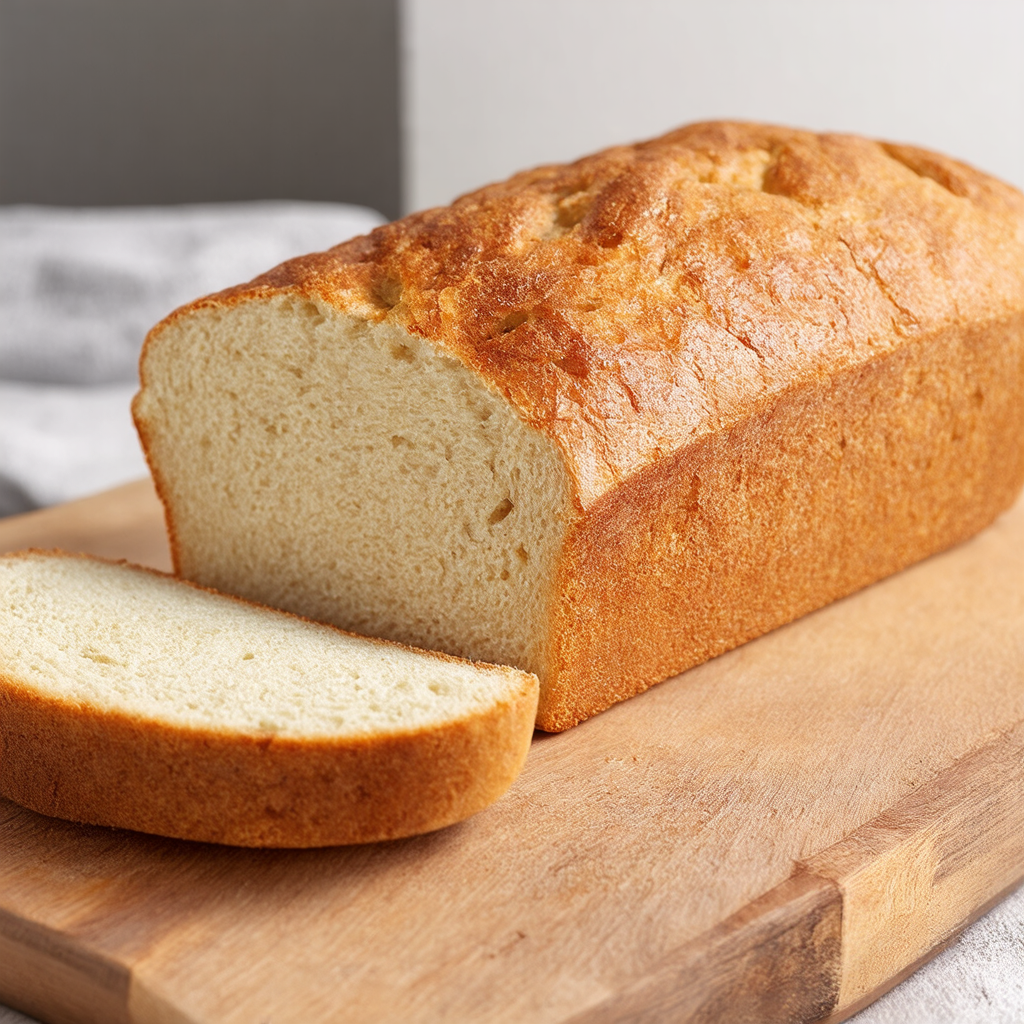
Created with Pantry Bliss
Ingredients
4 servings
- 500 grams all-purpose flour, sifted
- 300 milliliters warm water, around 40°C
- 7 grams instant yeast, or 1 packet
- 10 grams salt
- 10 grams sugar
- 30 milliliters olive oil
- Prep
- 15 min
- Marinate
- 1 hr
- Cook
- 30 min
- Rest
- 5 min
About this recipe
This Simple White Bread recipe takes inspiration from traditional baking methods passed down through generations. Its simplicity and effectiveness make it a must-try for any beginner baker. The aim is to create a loaf that is airy, fluffy, and ideal for toast or sandwiches, reminiscent of classic bakery breads.
Method
-
Step 1: Prepare the yeast mixture
In a large mixing bowl, combine warm water, sugar, and instant yeast. Stir gently and let it sit for about 5 minutes until frothy.
Make sure the water is warm, but not too hot, as it can kill the yeast. -
Step 2: Mix dry ingredients
In another bowl, whisk together the sifted all-purpose flour and salt until well combined.
-
Step 3: Combine wet and dry ingredients
Pour the yeast mixture into the bowl with the flour mixture. Add olive oil. Mix with a wooden spoon or spatula until a rough dough forms.
-
Step 4: Knead the dough
Transfer the dough onto a lightly floured surface. Knead for about 10 minutes until the dough is smooth and elastic. If the dough is sticky, sprinkle a little more flour as needed.
Avoid adding too much flour; the dough should still be slightly tacky. -
Step 5: First rise
Place the kneaded dough into a clean bowl. Cover the bowl with a kitchen towel. Let it rise in a warm place for about 60 minutes, or until it has doubled in size.
-
Step 6: Shape the dough
After the dough has risen, gently punch it down to release air. Transfer it to a lightly floured surface and shape it into a loaf by flattening it, then rolling it tightly from one end to the other.
Be gentle to keep some air bubbles for a softer texture. -
Step 7: Prepare to bake
Grease the baking loaf tin with a little oil. Place the shaped dough into the tin. Cover with the kitchen towel and let it rise again for another 30 minutes.
-
Step 8: Preheat the oven
While the dough is rising, preheat your oven to 220°C (428°F).
-
Step 9: Bake the bread
Once the dough has risen in the tin, place it in the preheated oven. Bake for 30 minutes, or until the bread is golden brown on top and sounds hollow when tapped.
Make sure to check that the bread is fully baked; the internal temperature should reach 90°C. -
Step 10: Cool the bread
Remove the loaf from the tin and let it cool on a wire rack for about 5 minutes before slicing.
Allow it to cool; slicing too early can make it gummy inside.
Tips
- For added flavor, consider mixing in herbs like rosemary or thyme into the dough before the first rise.
- If you prefer a softer crust, brush the top of the bread with melted butter as soon as it comes out of the oven.
- This dough can be used to make dinner rolls instead of a loaf; just shape into smaller balls and adjust baking time.
Equipment
- Large mixing bowl
- Measuring cups
- Measuring spoons
- Wooden spoon or spatula
- Clean kitchen towel
- Baking loaf tin (22 cm x 12 cm)
- Oven
Serve it with
Sides
-
Mixed Green Salad
A fresh salad pairs well with the hearty bread, balancing its richness.
-
Vegetable Soup
A warm soup is perfect for dipping into the bread.
Goes well with
-
Jam or Marmalade
Adding a spread enhances the taste of the bread for breakfast or snacks.
-
Grilled Cheese Sandwich
The bread's texture is perfect for making a delicious grilled cheese.
Drinks
-
Tea
A comforting drink to accompany the soft bread.
-
White Wine
A light white wine can complement the bread for a more sophisticated meal.
Created by a home cook with Pantry Bliss’s AI recipe creator and shared with the community. Always check recipes for allergens and cook food to safe temperatures.