How to organize your pantry in five steps
Empty the shelves, find the spare bags and put older food where you’ll use it first.
Three open bags of pasta and a can of beans behind the cereal make it hard to see what you have. Set aside a few hours to empty the pantry and put food back where you can find it. Buy containers afterward, when you know what needs a place.
Step 1: Empty the shelves
Take everything out and spread it across the counter or dining table. Check the back corners as you go; that’s where the spare bag of almond flour tends to hide.
Sort what you find:
- Keep food that’s in date and that you’ll use.
- Donate in-date, nonperishable food you won’t use. Check what a local charity accepts; Foodbank is one place to start in Australia.
- Toss food that’s expired or stale.
Step 2: Clean the empty pantry
Vacuum the crumbs along the back of the bottom shelf. Wipe the shelves and walls with warm water and a splash of white vinegar, then let them dry before putting food back. Healthline’s guide to cleaning with vinegar covers dilution for a vinegar wipe.
Step 3: Group what you’re keeping
Put like things together before deciding where they’ll live. Four bags of almond flour are easier to use up when you can see all four. If you make oatmeal most mornings, keep the oats and honey together rather than putting the oats with the rice.
- Baking: flour, sugar, baking soda, chocolate chips
- Grains and pasta: rice, quinoa, spaghetti, couscous
- Oils, vinegars and sauces: olive oil, soy sauce, tomato passata
- Canned food: beans, tomatoes, coconut milk, tuna
- Spices and seasonings
- Breakfast: cereal, oats, honey, breakfast biscuits
- Snacks: crackers, nuts, dried fruit
Step 4: Choose containers that suit the food
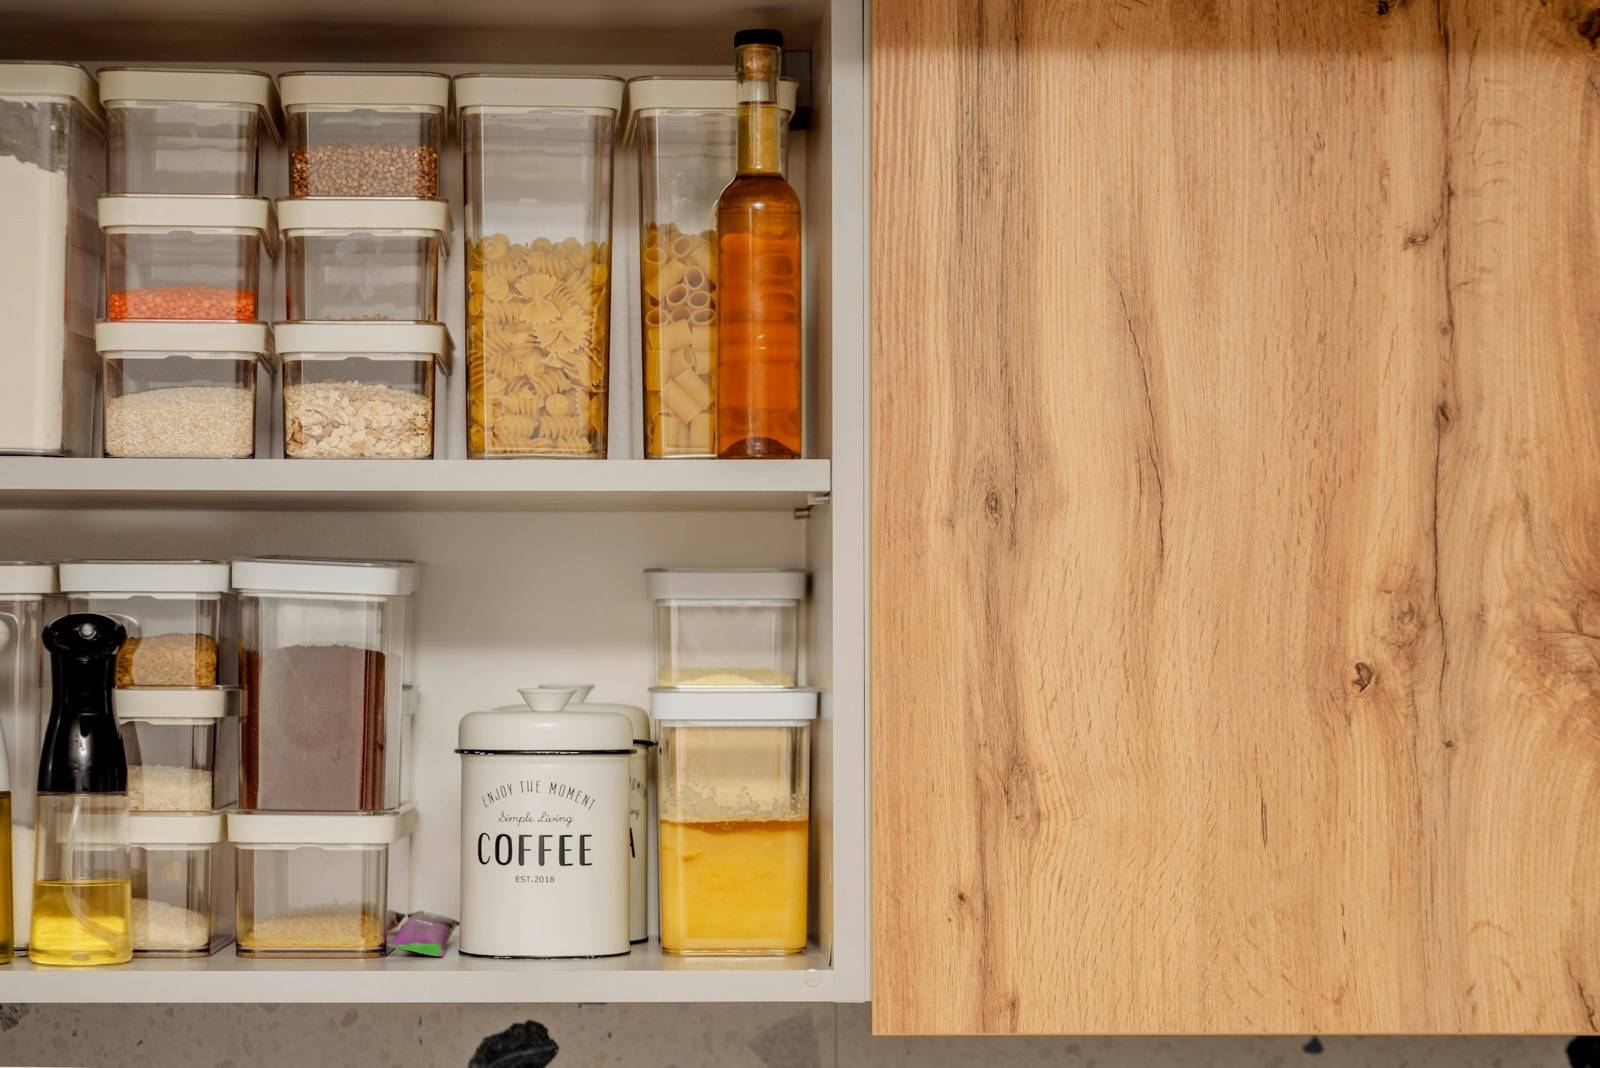
Decant staples if their bags are awkward to close or keep spilling. You don’t need matching jars. A jar that’s too tall for the shelf, or too heavy to lift when full, will stay in the cupboard unused.
Glass jars let you see how much flour or sugar is left, and they work for oats, pasta, rice and lentils, too. Glass won’t pick up odors from what you stored in it before or stain, and a sound jar lasts. I’d skip a large one on a high shelf: it’s heavy when full and can break if dropped. Glass often costs more upfront. Choose an opening wide enough for a measuring cup, and measure the shelf height before ordering. Check dimensions on LocknLock’s glass range or IKEA’s container listings. Do the same if you’re shopping on Amazon or Kmart.
Airtight plastic containers are lighter, less likely to break and often cheaper than glass. Many stack neatly. Plastic can stain or hold strong odors, so I’d use it for cereal, crackers or kids’ snacks rather than spices. Décor and Sistema make food-storage containers.
Ceramic canisters keep light off coffee beans, loose-leaf tea and delicate spices. Label them so you know what’s inside. They’re heavy and can chip.
If bottles of oil and vinegar disappear into a deep corner, put them on a turntable. A tiered riser helps with cans whose labels you can’t see; a basket will corral loose spice mixes or bags of chips.
Step 5: Keep it usable
Label containers and shelves so everyone at home can put things back. When you buy another bag of flour, use the older one before refilling its container.
If you use a digital pantry in Pantry Bliss, update it when you finish a bag or open a new one. Do it while the package is still in your hand.
- #pantry bliss
- #organization