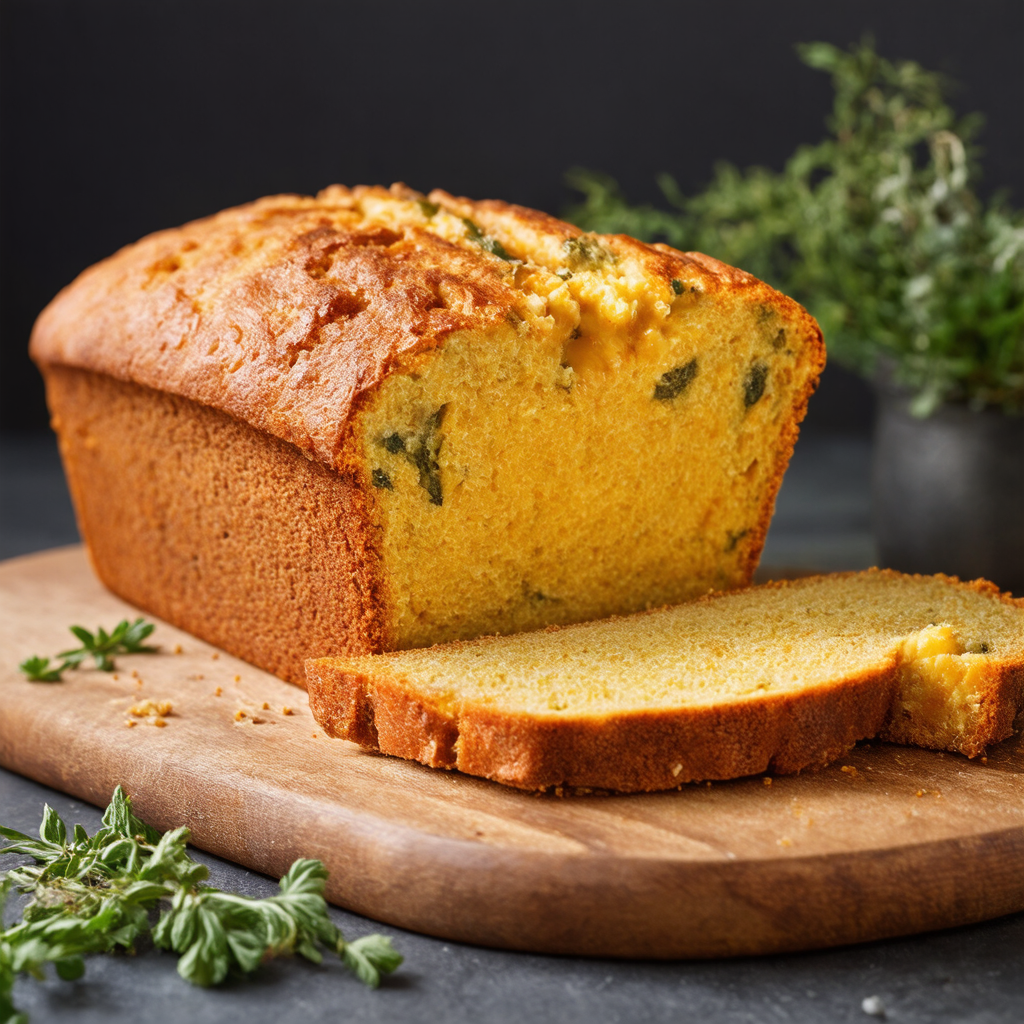
Cheese and Herb Bread
Flavoured with cheese and herbs, this bread is perfect on its own or as an accompaniment to meals. This simple recipe results in a soft, delicious bread that is enhanced by the savoury notes of cheese and the freshness of herbs, making it the perfect addition to any dinner table or a delightful snack.
- Total
- 55 min
- Serves
- 4
- Level
- Everyday
Created with Pantry Bliss
Ingredients
4 servings
For the dough
- 4 1/4 cups plain flour, sifted
- 2 1/4 tsp dry yeast, instant or active
- 1 1/4 cups warm water, around 100°F
- 1 1/2 tsp salt
For the filling
- 5 oz cheddar cheese, grated
- 2 oz parmesan cheese, grated
- 1 cup mixed fresh herbs (e.g., parsley, rosemary, thyme), finely chopped
- 2 tbsp olive oil
- Prep
- 20 min
- Cook
- 25 min
- Rest
- 10 min
Nutrition per serving
- Calories
- 728 kcal
- Protein
- 28 g
- Carbohydrate
- 98 g
- Fat
- 24 g
- Saturated fat
- 11.3 g
- Fibre
- 4.1 g
- Sugars
- 1 g
- Sodium
- 1343 mg
Estimated from the ingredients, so treat it as a guide.
About this recipe
This recipe draws inspiration from classic cheese breads that are treasured in various cultures. The combination of cheese and fresh herbs not only enhances the flavour but adds an appealing aroma as it bakes. Traditional cheese bread recipes often focus on simple, wholesome ingredients, making it a perfect fit for both beginners and experienced bakers alike.
Method
-
Step 1: Prepare the dough
In a large mixing bowl, combine the sifted plain flour and salt. In a separate bowl, mix the warm water with the dry yeast and let it sit for 5 minutes until slightly frothy. Pour the yeast mixture into the flour and stir using a wooden spoon until it forms a dough.
Ensure the water is warm but not too hot, or it will kill the yeast. -
Step 2: Knead the dough
Flour the surface lightly and turn the dough out of the bowl. Knead the dough for about 10 minutes, until it is smooth and elastic. If the dough is sticky, sprinkle a bit of flour on your hands and surface as needed.
Kneading the dough properly is essential for good structure and texture in the bread. It should spring back when pressed. -
Step 3: Add filling ingredients
After kneading, flatten the dough into a rectangle about 1/2-3/4 in thick. Sprinkle the grated cheddar, grated parmesan, and chopped herbs across the dough. Fold the dough over itself and then knead it gently for another 2-3 minutes to distribute the filling evenly.
Be careful not to overwork the dough at this stage; just enough to mix in the fillings is enough. -
Step 4: Let the dough rise
Shape the dough into a ball and place it in a lightly oiled bowl. Cover it with a kitchen towel and let it rise in a warm place for about 30 minutes, until it has doubled in size.
Ensure the bowl is lightly oiled to prevent sticking. The dough should be well-covered to retain moisture. -
Step 5: Preheat the oven
While waiting for the dough to rise, preheat your oven to 425°F. Line a baking tray with parchment paper.
Preheating the oven is crucial for developing a good crust on the bread. -
Step 6: Shape and bake the bread
Once the dough has risen, gently punch it down to remove excess air. Shape it into a round or oval loaf and place it on the prepared baking tray. Bake in the preheated oven for 25 minutes or until golden brown and sounds hollow when tapped on the bottom.
Use a thermometer to check that the bread’s internal temperature reaches at least 194°F for doneness. -
Step 7: Cool and serve
Remove the bread from the oven and let it cool on a wire rack for about 10 minutes before slicing. Serve warm or at room temperature, sliced as desired.
Letting the bread cool slightly helps it maintain moisture and texture.
Tips
- Add extra herbs like oregano or basil for different flavour profiles.
- Replace some of the cheddar with mozzarella for a more stretchy texture in the bread.
- Serve with a dipping oil made from olive oil and balsamic vinegar for added flavour.
Equipment
- Large mixing bowl
- Wooden spoon or spatula
- Clean surface or large cutting board
- Baking tray
- Parchment paper
- Kitchen towel
Serve it with
Sides
-
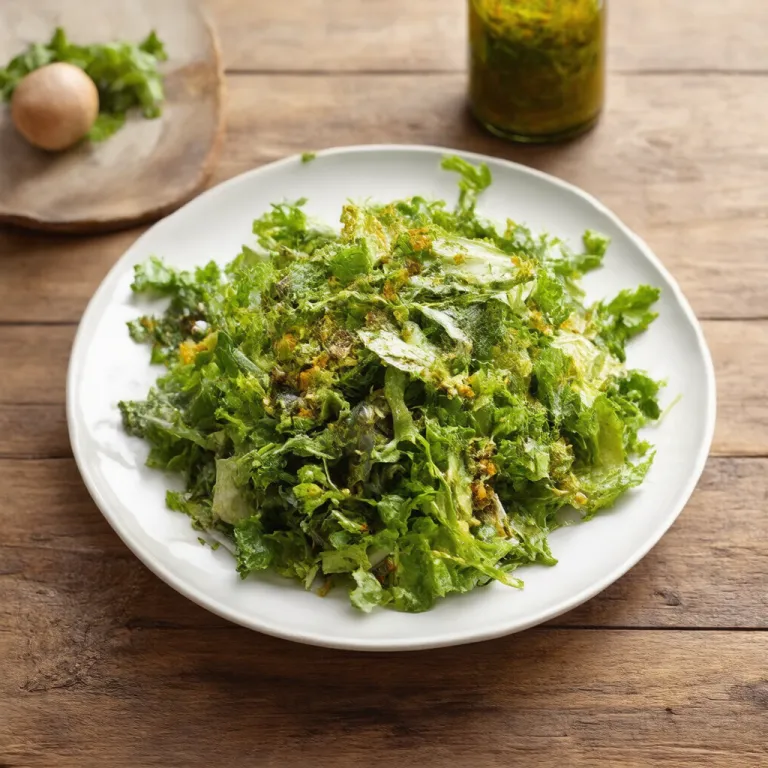 Mixed Green Salad
Recipe: Mixed Green Salad with Herb-Infused Vinaigrette
The freshness of the salad complements the cheesy bread beautifully.
- Vegetable Soup No recipe yet · create it in the app A warm soup offers a comforting combination with the bread.
- Antipasto Platter No recipe yet · create it in the app The savory and salty components of antipasto work well with the bread.
Goes well with

Drinks
-
Herbal Tea
A light herbal tea complements the bread without overwhelming its flavors.
-
Light White Wine
A crisp white wine enhances the cheesy nature of the bread.
Created by a home cook with Pantry Bliss’s AI recipe creator and shared with the community. Always check recipes for allergens and cook food to safe temperatures.